


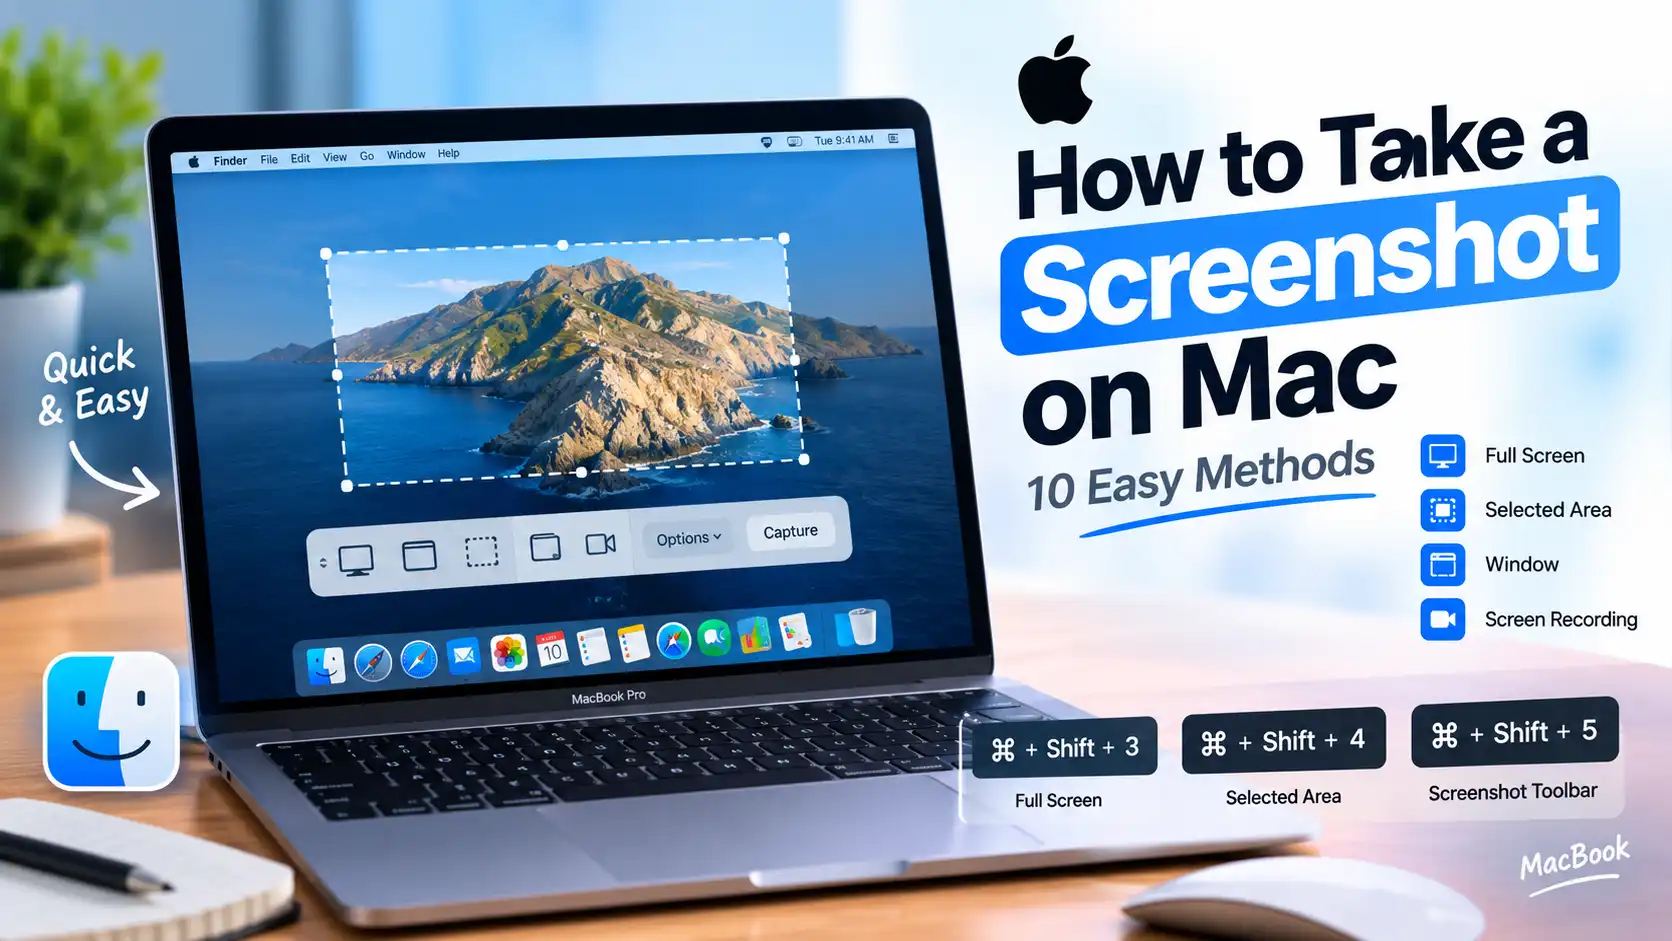
How to Take a Screenshot on Mac: Every Method You Need to Know
Taking a screenshot on a Mac is surprisingly simple. Whether you want to capture your entire screen, a specific window, a selected area, or even record your screen, macOS has built-in shortcuts that can do it in seconds.
You don't need to install another screenshot app for most everyday tasks. Apple's built-in screenshot tools cover almost everything you need, and once you learn a few keyboard shortcuts, capturing something on your Mac becomes second nature.
In this guide, we'll cover the easiest ways to take screenshots on a Mac, where your screenshots are saved, how to change the save location, and what to do if a screenshot shortcut isn't working.
1. Take a Screenshot of the Entire Mac Screen
If you want to capture everything currently visible on your screen, use the full-screen screenshot shortcut.
Command + Shift + 3
Press all three keys at the same time. Your Mac will capture the entire screen and normally save the screenshot as an image file on your desktop.
This is useful when you need to quickly save an error message, document, webpage, app screen, or anything else currently visible.
2. Screenshot a Specific Area
You don't always want to capture your entire screen. macOS lets you select exactly which part of the display you want to save.
Command + Shift + 4
After pressing the shortcut, your cursor changes into a crosshair. Click and drag across the area you want to capture. When you release the mouse or trackpad button, your Mac saves the selected area as a screenshot.
3. Screenshot a Specific Window
If you want to capture an individual application window without manually selecting it, macOS has a handy option built into the same shortcut.
Command + Shift + 4
Once the crosshair appears, press the Space key. Your cursor will turn into a camera icon.
- Press Command + Shift + 4.
- Press Space.
- Move the camera cursor over the window you want to capture.
- Click the window.
Your Mac will capture the selected window, usually including its clean window boundaries and shadow.
4. Use the Built-In Screenshot Menu
If you don't want to memorize multiple keyboard shortcuts, macOS also includes a dedicated Screenshot toolbar.
Command + Shift + 5
A control bar will appear near the bottom of your screen. From there, you can choose between several options.
- Capture the entire screen
- Capture a selected window
- Capture a selected portion of the screen
- Record the entire screen
- Record a selected portion of the screen
You can also access options for the screenshot timer, microphone settings for screen recordings, and where your captures should be saved.
The Easiest Shortcut to Remember
If you only want to remember one shortcut, make it Command + Shift + 5. It opens the complete Screenshot toolbar and gives you access to most of the screenshot and screen-recording options in one place.
5. How to Copy a Screenshot Instead of Saving It
Sometimes you don't want to create an image file. You may simply want to paste a screenshot directly into an email, document, chat, or image editor.
To copy the screenshot to your clipboard instead of saving it as a file, hold the Control key while using the normal screenshot shortcut.
Control + Command + Shift + 3
You can then open the application where you want to use the image and press Command + V to paste it.
The same Control-key technique can be used with the selected-area screenshot shortcut.
6. Where Are Mac Screenshots Saved?
By default, screenshots taken with macOS are generally saved to the Desktop.
The filename normally includes a description such as "Screenshot" followed by the date and time the image was captured.
If you can't find your screenshot, check your Desktop first. You can also use Finder's search function to look for files beginning with "Screenshot."
7. Change Where Screenshots Are Saved
If your desktop is becoming cluttered with screenshots, you can change the destination.
Press:
Then select Options. Under the save section, you can choose another location, such as Documents or a folder you created specifically for screenshots.
You can also choose a different folder if you regularly take screenshots for work, school, content creation, or troubleshooting.
8. How to Take a Screenshot Without the Shadow Around a Window
When you capture an individual window using the window screenshot mode, macOS can include a shadow around it.
If you want to remove the window shadow, use the window capture shortcut while holding the Option key.
This is particularly useful when you're creating tutorials, documentation, presentations, or website graphics and want a cleaner image.
9. How to Take a Screenshot on a MacBook Without a Mouse
You don't need a mouse or external keyboard to take a screenshot on a MacBook.
The standard keyboard shortcuts work with the built-in MacBook keyboard and trackpad:
| What you want to capture | Shortcut |
|---|---|
| Entire screen | Command + Shift + 3 |
| Selected area | Command + Shift + 4 |
| Screenshot toolbar | Command + Shift + 5 |
| Selected window | Command + Shift + 4, then Space |
10. How to Screen Record on a Mac
The Screenshot toolbar isn't just for still images. You can also use it to record what's happening on your screen.
Choose the option to record the entire screen or a selected portion. From the available options, you can also configure recording settings such as the microphone.
When you're finished recording, use the stop control in the menu bar to end the recording.
11. What If the Screenshot Shortcut Isn't Working?
If one of the shortcuts doesn't seem to work, don't panic. There are several things worth checking.
- Make sure you're pressing the keys at the same time.
- Try Command + Shift + 5 to open the Screenshot toolbar.
- Check whether the keyboard shortcuts have been changed in macOS settings.
- Restart your Mac if the Screenshot tool appears to be temporarily unresponsive.
- Check whether another application is interfering with the keyboard shortcut.
Mac Screenshot Shortcuts at a Glance
| Action | Keyboard Shortcut |
|---|---|
| Capture entire screen | Command + Shift + 3 |
| Capture selected area | Command + Shift + 4 |
| Capture a window | Command + Shift + 4, then Space |
| Open Screenshot toolbar | Command + Shift + 5 |
| Copy screenshot to clipboard | Control + screenshot shortcut |
Final Thoughts
Taking screenshots on a Mac doesn't require additional software for most everyday situations. Once you know the basic shortcuts, you can capture your entire screen, a single window, or just a small section in a matter of seconds.
For most people, the three shortcuts worth remembering are Command + Shift + 3 for the full screen, Command + Shift + 4 for a selected area, and Command + Shift + 5 for the full Screenshot toolbar.
Learn those three and you'll have most of the Mac screenshot tools you need right at your fingertips.
Discussion (0)
No comments yet. Be the first to share your thoughts!