


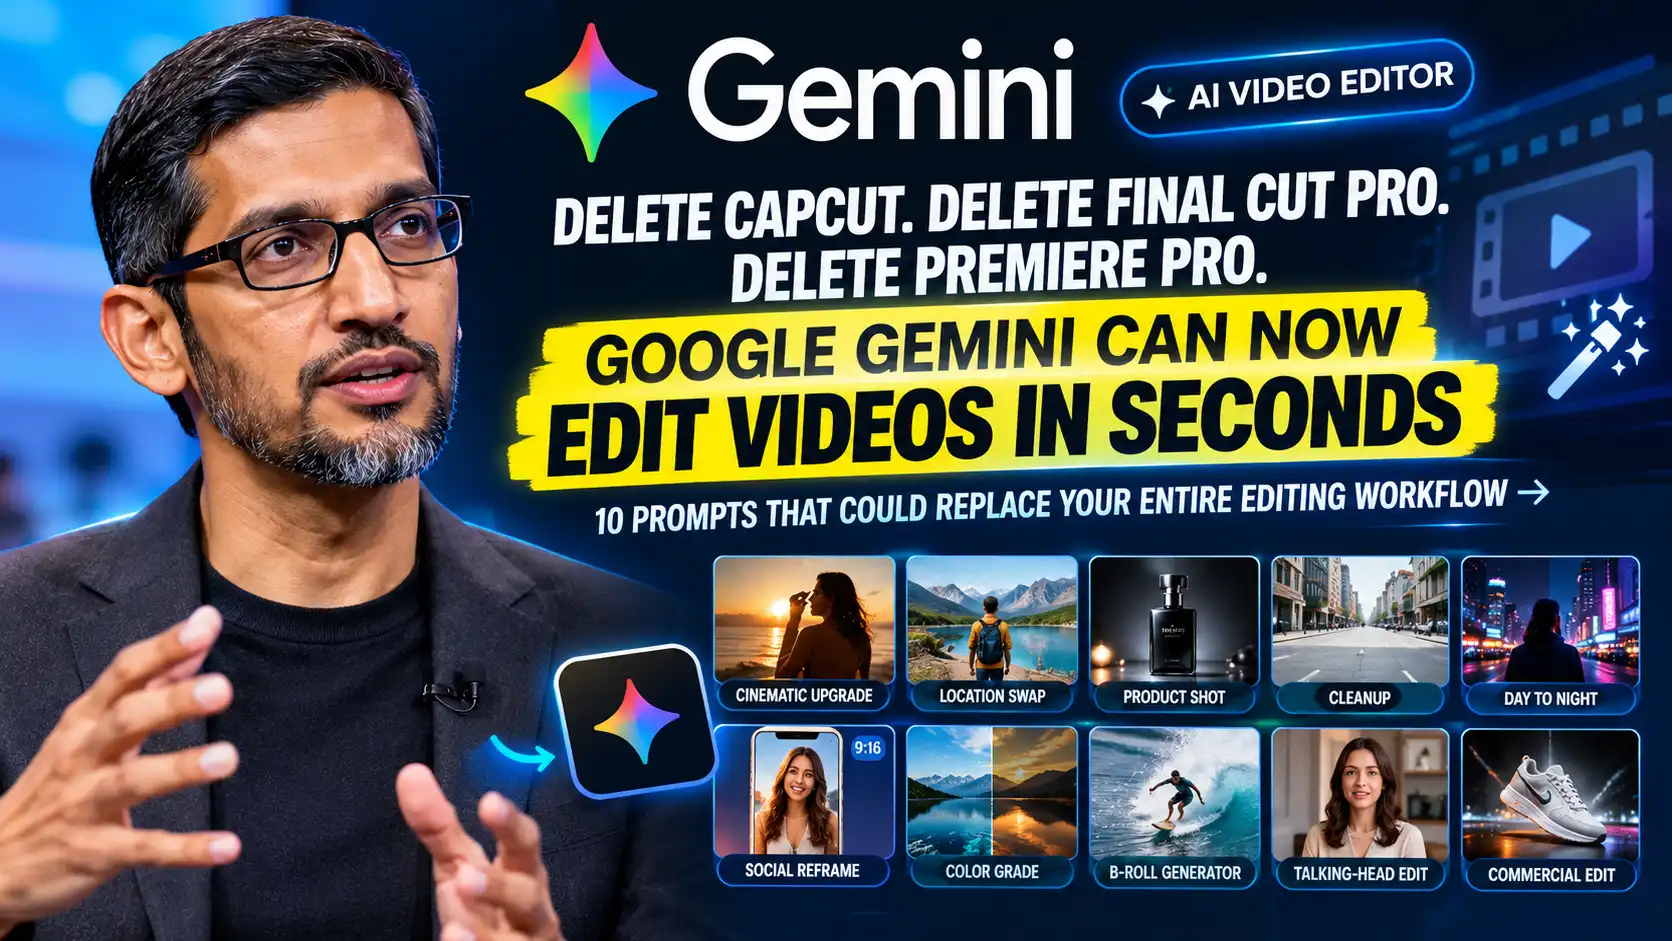
Delete CapCut? Delete Premiere Pro? 10 Google Gemini Prompts for Faster Video Editing
What if you could make major changes to a video simply by describing what you want? Google Gemini is making AI-powered video editing increasingly accessible, and these 10 prompts show how creators can experiment with cinematic edits, background changes, cleanup, reframing, and more.
Traditional video editing can take a lot of time. You might spend an hour cutting clips, fixing colors, masking a subject, removing something from the background, or trying to make a simple phone recording look more professional.
AI changes the process. Instead of manually adjusting every setting, you can explain the result you want and let an AI system handle much of the visual transformation.
That doesn't mean traditional editors are suddenly unnecessary for every project. Professional productions still require detailed control, precise timelines, audio mixing, visual effects, and careful finishing. But for quick social videos, experiments, product clips, and everyday content, prompt-based editing can make the process much faster.
How to Write Better Video Editing Prompts
The most useful prompts are specific about three things: what you want to change, what must stay the same, and what the finished video should look like.
The examples below use placeholders such as [PERSON], [PRODUCT], and [LOCATION]. Replace them with details from your own footage.
1. The Movie Upgrade
Edit this uploaded video into a premium cinematic social-media clip. Keep [PERSON/MAIN SUBJECT] consistent with the original footage, including their appearance and movement. Give the scene [golden-hour/moody studio] lighting, realistic depth of field, subtle background blur, smooth cinematic camera movement, and professional contrast. Preserve the original action and make the finished video feel like a high-quality [fashion/travel] commercial while keeping it realistic.
2. The Instant Location Swap
Replace the current background in this video with [luxury office/modern café/Tokyo street/beach/minimal studio]. Keep [PERSON/PRODUCT] unchanged, including their face, clothing, proportions, movement, and position. Match the new environment with realistic lighting, shadows, reflections, perspective, and depth. Make the result look as though the video was originally filmed in the new location. Do not change [specific details that must remain unchanged].
3. The Studio Product Shot
Turn this product footage into a premium [10-second] commercial for [PRODUCT/BRAND]. Keep the product's exact shape, logo, packaging, colors, and text unchanged. Place it in a [dark luxury/minimal white/futuristic/neon] studio environment. Add controlled cinematic lighting, realistic reflections, shallow depth of field, and elegant camera movement. Make [PRODUCT FEATURE] the main visual focus and give the video the polished feel of a professional [industry] advertisement.
4. The Invisible Cleanup
Remove [PERSON/OBJECT/CAR/SIGN/TRASH/CABLE] from this video. Reconstruct the area behind the removed object using the surrounding environment as reference. Preserve the main subject, camera movement, lighting, shadows, textures, and perspective. Make the repaired area look natural throughout the entire clip with no visible artifacts, flickering, distortion, or unnatural patches.
5. The Day-to-Night Flip
Transform this daytime video into a realistic [cinematic night/neon night/blue-hour] scene. Keep all people, buildings, objects, and movements unchanged. Adjust the sky naturally and add realistic [streetlights/window lights/neon signs]. Create appropriate reflections and shadows and make sure the lighting on the subjects matches the new environment. Keep the scene photorealistic and avoid making the footage excessively dark.
6. The Social Media Reframe
Reframe this video for a vertical 9:16 social-media format. Keep [PERSON/MAIN SUBJECT] clearly visible throughout the entire clip. Follow the subject's movement and adjust the framing naturally instead of using a fixed crop. Preserve their appearance, clothing, facial features, and original action. Keep important objects and details inside the frame and make the final composition look intentional and professional.
7. The Cinematic Color Grade
Apply a professional cinematic color grade to this video while preserving natural skin tones and important details. Create a [warm cinematic/teal and orange/soft film/clean commercial] look with balanced highlights, controlled shadows, realistic colors, and subtle film-style contrast. Keep exposure consistent throughout the clip. Avoid oversaturation, crushed blacks, unnatural skin tones, or excessive sharpening.
8. The B-Roll Upgrade
Turn this footage into a dynamic short-form video edit. Identify the strongest moments and create a natural sequence using wider shots, close-up details, and smooth visual transitions. Keep the original story and main subject consistent. Emphasize [PRODUCT/ACTION/LOCATION] and create engaging pacing suitable for social media. Keep the editing clean and avoid excessive transitions or distracting effects.
9. The Professional Talking-Head Edit
Turn this talking-head recording into a polished professional social-media video. Keep the speaker's face, voice, appearance, and natural expressions consistent. Remove unnecessary pauses and dead space while preserving the meaning of the speech. Add subtle punch-in and punch-out movements, improve the lighting and color, maintain natural skin tones, and keep the pacing engaging. Emphasize important moments without making the video feel overly edited.
10. The Complete Commercial Edit
Turn this uploaded footage into a polished [15/30/60-second] promotional video for [PRODUCT/BRAND/SERVICE]. Identify the strongest moments and arrange them into a clear, engaging sequence. Preserve the main subject, product appearance, logo, important text, and original action. Improve lighting, color, composition, and camera feel while keeping the footage realistic. Use clean transitions, subtle motion, and strong visual emphasis on [MAIN BENEFIT/FEATURE]. Make the final result feel like a professionally produced commercial rather than an obvious AI-generated edit.
Tips for Getting Better AI Video Edits
Good prompts are only part of the equation. Your source footage matters too. A clear video with a visible subject and consistent lighting generally gives an AI editor more information to work with.
- Be specific. Replace vague instructions like "make it better" with concrete visual changes.
- Protect important details. Mention faces, logos, text, clothing, products, and other elements that should not change.
- Describe the lighting. Words like golden hour, soft studio light, neon lighting, or blue hour give the edit a clearer direction.
- Don't overload every prompt. If one transformation matters most, make it the focus.
- Use the bracketed variables. Replace them with information specific to your footage.
- Refine the result. If the first version is close, make a smaller follow-up change instead of starting from scratch.
Is AI Going to Replace Traditional Video Editors?
For some simple editing jobs, AI can already reduce the amount of manual work involved. Background changes, reframing, cleanup, color adjustments, and content variations are examples of tasks that can potentially be accelerated with AI.
But that is different from replacing a complete professional editing workflow. Complex productions still benefit from precise timeline control, advanced audio work, visual effects, color grading, collaboration, and detailed creative decisions.
The more interesting change is that video editing is becoming increasingly conversational. Instead of learning where every button is located, creators can describe what they want and experiment with different versions much faster.
Final Thoughts
Google Gemini's AI video capabilities point toward a different way of thinking about editing. You don't always need to manually perform every adjustment to test an idea.
Whether you want to turn a basic clip into a cinematic shot, replace a distracting background, create a product commercial, clean up an unwanted object, or prepare content for social media, a well-written prompt can give you a useful starting point.
The key is simple: tell the AI what to change, tell it what to protect, and describe what the finished video should feel like.
Discussion (0)
No comments yet. Be the first to share your thoughts!